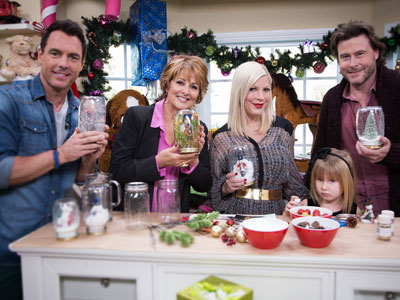
While watching the Home and Family show I learned that the fluid that is in store purchased snow globes is toxic to your pets. I love snow globes and learned a new way to make them at home that are very safe and cute.copyright © 2012 Crown Media, all rights reserved.
Homemade Snow Globes
 Ingredients: Mason Jar (or any clear jar with a tight lid, large enough to fit your picture once cut out) Glue Gun & Hot Glue Scissors Picture Laminate paper (can purchase at any craft or office supply store) Mini Styrofoam ball Embellishment pieces (Suggested Embellishments: Mini Christmas Trees, Fake Berries, Mini Pine Cones) Glycerin Glitter Water
Directions:
1. Take your picture and cut out the person. It is nice to use a full body rather than just 1/2 or a face.
2. Use your laminate paper pouch and laminate your cut out picture. Once you laminate, cut out your person again, but make sure to leave an edge around the picture so it stays sealed.
3. Unscrew the lid to your jar. I like to re-screw the lid back on to find out which direction will face a smooth surface on the jar before I start gluing.
4. With the mini Styrofoam balls, slide the picture into the ball so they can be glued and stand straight. Once you do this, seal the picture into the slit of the ball with some hot glue.
5. Next, glue the ball onto the lid of the jar, making sure the front of the picture will face the smooth part of the jar.
6. Take your embellishments and glue them around your picture to make a nice background scene. During this step, make sure to leave enough room around the edge of the lid so you can screw it back onto the jar.
7. Now you can fill your jar up, almost to the top with water. Then add your glitter.
8. Next adding glycerin to the water will help the glitter float a little bit slower. Usually about 2-3 teaspoons per cup of water.
9. Now you can stuff your design into the jar and screw on the lid.
10. If you want you can put some hot glue on the lid to seal it closed, but it's best to wait to seal it just in case you need to make any adjustments after you place it in the water.
Get more great tips and DIY projects from Tori here: www.torispelling.com.
Return to episode guide >> |
No comments:
Post a Comment